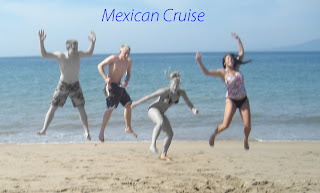
After

These are the steps I used to do this.
1. I went to the cropping tool and cut out everything I didn't want.
2. I created a new layer by dragging the picture to the sticky note pad.
3. I next went to Layer-New Adjustment Layer-Hue Saturation. Then I colorized it and made the layer black and white.
4. Next put the black and white layer under the colored layer and erased from the colored.
5. I used the cloning stamp tool on the left to take away the shadow of our jump.
6. Finally I added "Mexican Cruise" to it by using the text tool.

No comments:
Post a Comment